Why I Never Travel Without My Coffee Kit
Picture this: You're watching the sunrise over the Mekong Delta in Vietnam, or camping under the Northern Lights in Iceland, and you reach for that first cup of coffee. Hotel coffee won't do. Instant coffee is an insult. What you need is a travel kit that brings café-quality coffee to any corner of the world.
I've been perfecting my travel coffee setup for over a decade, from cramped European hostels to remote mountain camps in Patagonia. The key isn't carrying everything—it's carrying the right things. Let me show you how to build a kit that weighs less than 2 pounds but delivers better coffee than most cafés.
Here's my philosophy: great travel coffee requires three elements—portable brewing power, fresh beans, and precise technique. Everything else is negotiable.
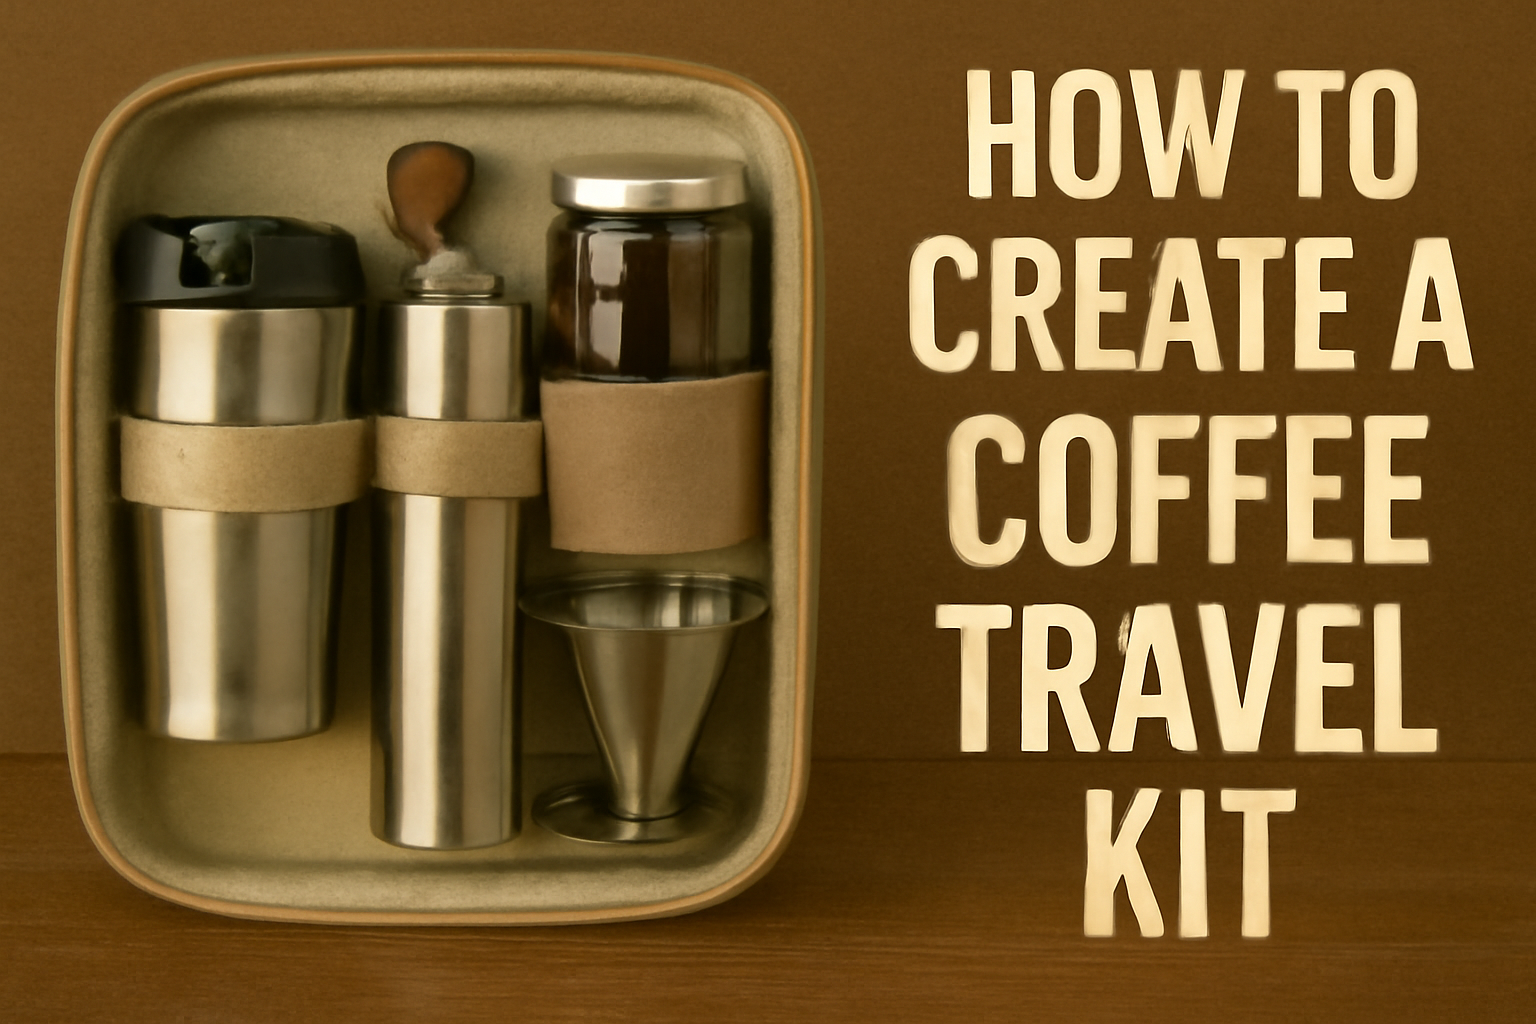
The Core 5: Non-Negotiable Essentials
These five items form the backbone of any serious travel coffee kit. Skip any of these, and you'll compromise quality or convenience.
1. Portable Brewing Device
Top choice: AeroPress Go or Hario V60 02
- AeroPress Go: Nearly indestructible, consistent results, includes travel mug
- V60: Lighter weight, better for filter coffee purists, requires steady hand
- Avoid: French press (heavy, fragile) or moka pot (needs stove access)
2. Compact Grinder
Top choice: Timemore C2 or 1Zpresso Q2
- Hand grinders only—electric models are too bulky and voltage-dependent
- Burr grinders essential for consistent particle size
- Look for 20-25g capacity minimum
3. Digital Scale
Top choice: Acaia Lunar or Hario VST-2000B
- 0.1g precision minimum
- Timer function crucial for pour-over timing
- Compact form factor and good battery life
4. Portable Kettle
Top choice: Fellow Stagg EKG Travel or collapsible silicone kettle
- Temperature control preferred, but not essential
- 500ml capacity sufficient for 1-2 cups
- Consider local voltage requirements
5. Quality Filters
Bring 2x what you think you'll need. Nothing ruins a morning like running out of filters in rural Mongolia.
Selecting & Storing Travel Coffee
The best brewing equipment means nothing without great beans. Here's how to source, pack, and preserve coffee for extended travel.
Bean Selection Strategy
- Medium-dark roasts travel best—less susceptible to staleness than light roasts
- Single origins over blends—easier to adjust brewing parameters
- Recent roast dates—ideally 3-14 days post-roast when you depart
- Local sourcing—research coffee roasters at your destination
Packaging & Storage
- Vacuum-sealed bags with one-way valves
- Airscape or similar airtight containers for longer trips
- Pre-portion daily doses (18-22g) in small resealable bags
- Keep beans cool and dry—never in checked luggage cargo
Quantities & Planning
Rule of thumb: 20g per cup + 20% buffer for mistakes and generosity.
- 1 week trip: 200-250g
- 2 week trip: 400-500g
- 1 month: 700-800g (consider local sourcing)
International Considerations
- Check customs regulations—some countries restrict agricultural imports
- Vacuum-sealed commercial packaging generally safer than loose beans
- Keep receipts and roaster labels for customs
- Consider shipping beans to hotels for longer stays
Smart Packing & Organization
The difference between a travel coffee kit and a disaster waiting to happen is organization. Here's how to pack like a pro.
The Container System
Hard case approach: Pelican 1200 or similar waterproof case
- Protection for fragile items (grinder, scale)
- Foam inserts for custom organization
- Doubles as brewing station surface
- Airport security friendly—everything visible
Soft pack approach: Dedicated coffee organizer pouch
- Peak Design Packing Cube or similar
- Lighter weight, more flexible
- Multiple compartments for organization
- Better for backpacking/weight-conscious travel
Carry-On vs. Checked
Always carry-on:
- Coffee beans (temperature sensitive)
- Scale (electronics protection)
- Grinder (essential item, can't replace easily)
Can check if needed:
- Brewing device (especially AeroPress—nearly indestructible)
- Kettle (check voltage compatibility at destination)
- Extra filters and accessories
TSA & Security Tips
- Grinder may trigger additional screening—allow extra time
- Keep brewing device empty and clean
- Pre-printed explanation card for unusual equipment
Travel Brewing Techniques & Troubleshooting
Hotel rooms aren't coffee labs. Here's how to adapt your technique to less-than-ideal conditions and still pull exceptional shots.
AeroPress Travel Recipe
The Reliable: Works in any conditions
- 18g coffee, medium-fine grind
- 200ml water at 85-90°C (no thermometer? Wait 45 seconds after boiling)
- Standard method: 30s bloom, stir, press at 1:30
- Forgiving recipe—difficult to mess up
V60 Travel Recipe
The Purist: For stable surfaces only
- 20g coffee, medium grind
- 300ml water at 92-96°C
- 40g bloom for 30s, then steady pour to finish by 2:30
- Requires steady hand and level surface
Common Travel Problems & Solutions
Problem: No scale available
Solution: 1 tablespoon ≈ 7g coffee; use measuring spoons + consistent ratios
Problem: Water tastes terrible
Solution: Bottled water for coffee, or portable water filter (LifeStraw Go)
Problem: No proper kettle
Solution: Hotel room microwave + ceramic mug; heat in 30s intervals
Problem: Unstable surface
Solution: Bathroom counter usually most stable; AeroPress more forgiving than pour-over
Problem: Limited counter space
Solution: Use suitcase or floor as staging area; organize workflow in advance
Kit Variations by Travel Style
Not all travel is created equal. Here are optimized kit configurations for different travel styles and restrictions.
The Minimalist (Backpacking/Ultra-Light)
Weight target: Under 500g total
- AeroPress Go (compact version)
- Timemore Nano grinder
- Compact digital scale (150g max)
- Collapsible silicone kettle
- Pre-ground coffee option for weight savings
- Instant thermometer instead of temperature control
- Multi-use items (grinder doubles as travel mug)
The Hotel Warrior (Business Travel)
Focus: Convenience and consistency
- Electric kettle with temperature control
- High-end burr grinder (Comandante C40)
- Precision scale with timer
- V60 + AeroPress for variety
- Hard case for protection
- Extra filters and backup equipment
- Local coffee sourcing research
The Adventure Seeker (Camping/Remote)
Priority: Durability and versatility
- Indestructible brewing device (AeroPress original)
- Manual grinder with metal construction
- Rugged scale (IPX rating preferred)
- Camp stove compatibility kettle
- Waterproof storage containers
- Multiple brewing method options
- Repair kit (spare parts, cleaning tools)
Budget Build Options
Great travel coffee doesn't require a luxury budget. Here are three complete kit builds at different price points.
Budget Build ($75-100)
- Hario V60 02 plastic ($8)
- Hario Mini Mill grinder ($25)
- Basic digital scale ($15)
- Collapsible kettle ($20)
- V60 filters + carrying case ($15)
Trade-offs: Manual grinder takes effort; plastic V60 less heat retention
Mid-Range ($200-300)
- AeroPress Go ($40)
- Timemore C2 grinder ($70)
- Acaia Lunar scale ($140)
- Travel kettle with temp control ($45)
- Hard case + accessories ($25)
Sweet spot: Professional results with reasonable weight and durability
Premium ($400-600)
- AeroPress + V60 ceramic ($65)
- Comandante C40 grinder ($250)
- Acaia Lunar scale ($140)
- Fellow Stagg EKG Travel ($120)
- Pelican case + organization ($50)
No compromises: Café-quality results anywhere in the world
Maintenance & Troubleshooting on the Road
Equipment fails at the worst possible moments. Here's how to keep your kit running smoothly and handle emergencies.
Daily Maintenance
- Clean immediately after use—coffee oils turn rancid quickly in travel conditions
- Disassemble grinder weekly—remove residual particles and oils
- Rinse filters thoroughly—prevents papery taste buildup
- Dry everything completely—moisture breeds mold and bacteria
Emergency Repairs
- Grinder jamming: Disassemble, clear obstruction, reduce grind size temporarily
- Scale malfunction: Use measuring spoons (1 tbsp = 7g coffee)
- Filter shortage: Metal mesh substitute or cloth filter in emergencies
- Broken brewing device: Hotel French press or improvised pour-over setup
Essential Repair Kit
Pack these items to handle common failures:
- Spare grinder burr or ceramic disc
- Cleaning brush set (small + large)
- Microfiber cloths
- Descaling tablets (for kettles)
- Backup battery (for digital scales)
- Multi-tool with small screwdrivers
Local Solutions
- Find local coffee shops for equipment advice
- Kitchen supply stores often carry basic alternatives
- Amazon/local delivery to hotels in major cities
- Coffee roasters sometimes loan/sell equipment
Your Next Adventure Starts Here
I've shared the knowledge gained from countless hotel rooms, mountain campsites, and airport lounges. The perfect travel coffee kit isn't about having the most expensive gear—it's about having the right gear for your specific travel style.
Start with the Core 5 essentials, then customize based on your typical travel scenarios. Remember: the best coffee kit is the one you'll actually use consistently, not the one that looks impressive in photos.
Whether you're watching the sunrise from Machu Picchu or grabbing a quick coffee before a business meeting in Tokyo, great coffee connects us to the moment. Pack smart, brew well, and never compromise on that perfect cup—no matter where in the world you find yourself.