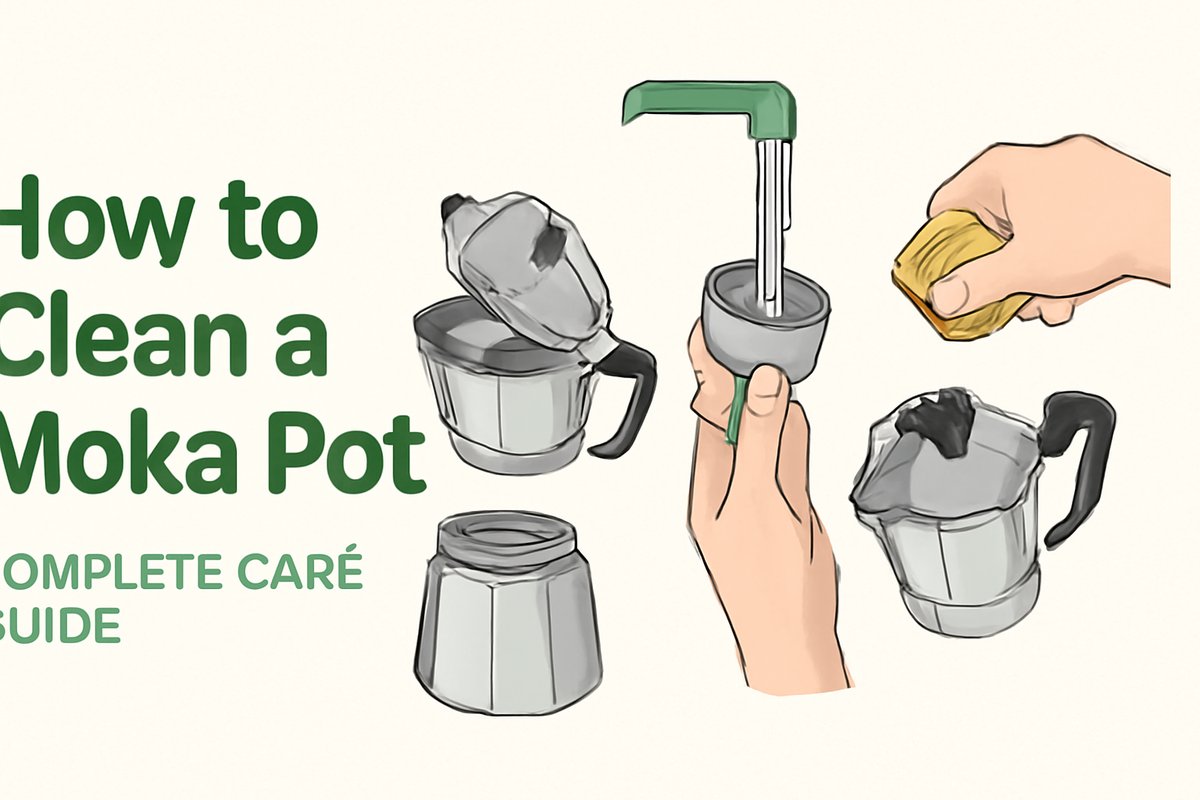
How to Clean a Moka Pot: Complete Care Guide
Professional cleaning tips to extend your moka pot's lifespan and ensure every cup tastes its best. Learn the dos and don'ts of moka pot maintenance.
Anna Chen
Coffee Equipment Specialist & Maintenance Expert
As an Amazon Associate, Art de Vivre Coffee earns from qualifying purchases. Product links on this page are affiliate links. Full disclosure.
A well-maintained moka pot can last for decades, brewing countless cups of delicious coffee. However, improper cleaning can ruin the taste of your coffee and significantly shorten your moka pot's lifespan. The key is understanding what to clean, when to clean it, and—perhaps most importantly—what not to do.
Unlike other coffee makers, moka pots have specific cleaning requirements due to their aluminum construction and unique brewing mechanism. Following the right maintenance routine will ensure your stovetop espresso maker continues to produce exceptional coffee for years to come.
The Golden Rules
DO
- • Clean after every use
- • Use warm water and mild soap
- • Dry completely before storing
- • Replace worn gaskets and filters
DON'T
- • Put in dishwasher
- • Use abrasive cleaners
- • Soak for extended periods
- • Use steel wool or harsh scrubbers
Daily Cleaning Routine (After Each Use)
1 Let It Cool Down
Allow your moka pot to cool completely before cleaning. Never put a hot moka pot under cold water as thermal shock can warp the aluminum and damage the seals.
Tip: Wait at least 10-15 minutes after brewing before handling.
2 Disassemble Completely
Take apart all removable components: upper chamber, lower chamber, filter basket, and gasket. This ensures you can clean every surface and prevent coffee oil buildup.
3 Rinse with Warm Water
Rinse all components under warm (not hot) running water to remove coffee residue. Use your fingers to gently remove any stuck coffee grounds from the filter holes.
Important: Never use cold water on hot aluminum.
4 Use Mild Soap (If Needed)
If coffee oils have built up, use a small amount of mild dish soap. Avoid harsh detergents or antibacterial soaps that can leave residues.
Pro Tip: A drop of dish soap goes a long way.
5 Dry Completely
Air dry all components completely before reassembling. Moisture can cause oxidation and affect coffee taste.
Storage: Store disassembled in a dry place.
Deep Cleaning (Weekly)
Weekly deep cleaning removes coffee oil buildup and ensures optimal performance:
Weekly Deep Clean Process
- 1 Disassemble and inspect all parts for wear
- 2 Soak filter basket in warm water with mild soap for 10 minutes
- 3 Clean safety valve with a toothpick or small brush
- 4 Check gasket for cracks or deterioration
- 5 Rinse thoroughly and air dry completely
Common Cleaning Problems & Solutions
Problem: Coffee Tastes Metallic
This usually indicates soap residue or improper cleaning.
- • Rinse more thoroughly
- • Use less soap
- • Consider vinegar rinse (see below)
Problem: Coffee Tastes Bitter
Often caused by coffee oil buildup in filter holes.
- • Clean filter holes with toothpick
- • Soak filter basket longer
- • Use more thorough rinsing
Natural Cleaning Solutions
Vinegar Solution (Monthly)
For stubborn coffee oil buildup, use a vinegar solution:
- 1. Mix 1 part white vinegar with 3 parts water
- 2. Soak filter basket and upper chamber for 30 minutes
- 3. Rinse thoroughly with warm water
- 4. Air dry completely before use
Note: Only use vinegar solution monthly to avoid damaging the aluminum.
Maintenance Schedule
| Frequency | Task | Importance |
|---|---|---|
| After Each Use | Rinse and air dry | Critical |
| Weekly | Deep clean with soap | Important |
| Monthly | Vinegar solution | Recommended |
| Every 6 Months | Replace gasket | Maintenance |
Maintaining Your Moka Pot for Life
With proper care and regular cleaning, your moka pot can last for decades, becoming a cherished part of your daily coffee ritual. The key is consistency—establishing good cleaning habits from the start will ensure your moka pot continues to produce excellent coffee year after year.
Remember: a well-maintained moka pot not only lasts longer but also produces better-tasting coffee. The small investment of time in proper cleaning pays dividends in both equipment longevity and coffee quality.
Continue Your Moka Pot Journey
How to Use Guide
Master the brewing process with our step-by-step instructions
Material Guide
Aluminum vs stainless steel: maintenance differences explained
Buying Guide
Choose the perfect moka pot with our comprehensive guide
Grind Size Guide
Perfect your coffee with the right grind size for moka pots
Best Moka Pots
Our top picks and detailed reviews of the best moka pots
Size Guide
Choose the perfect size for your household needs